 A Quick 12 Step DIY Door Fitting Method

Replacing doors by yourself you could make some mistakes at first. Instead of learning how to change your door throughout the process, here is everything you should know to get your door fitted right the first time.
Some tools you’ll need to have to complete the installation are a drill, drill bits, screwdriver bits, chisel, meter, hammer, a flat screwdriver and a phillips, a pencil and some screws. You’d also need all the features you’d like/need to fit on the door such as hinges, locks, letterbox, etc.
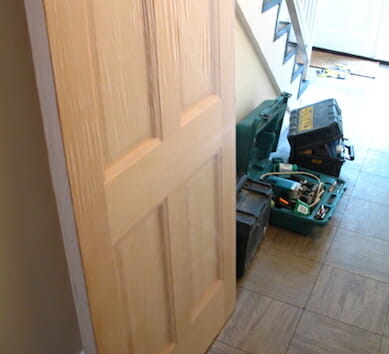
1. Remove the old door from the hinges and lay it down.
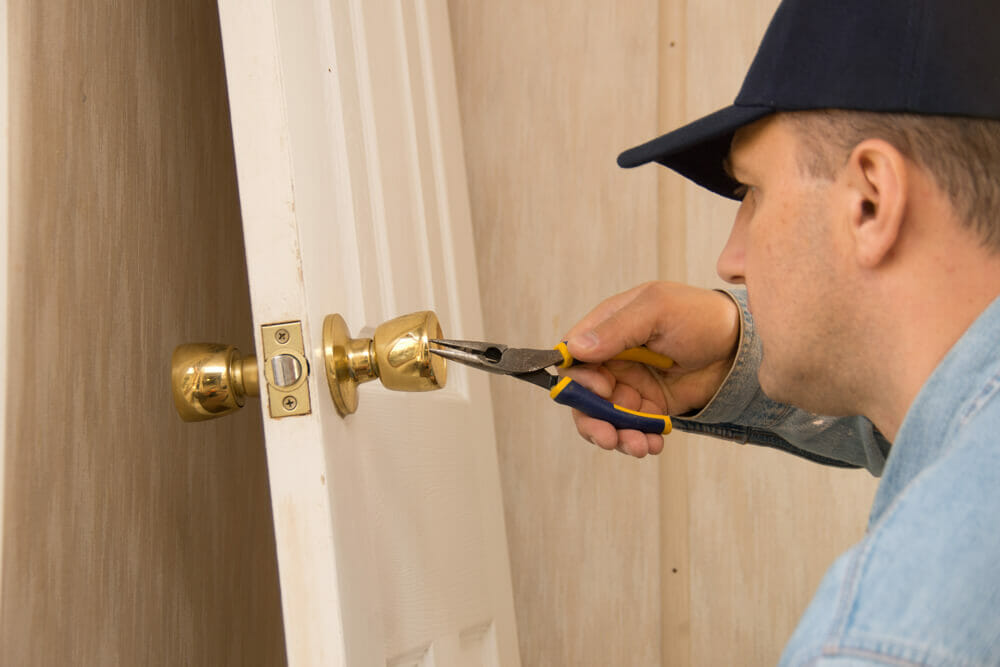
2. Take off the handles, locks or any other hardware that is installed on the old door.
3. Take the new door, place it over the old door and align them with each other. This would give you an indication of where you need to make your cuts for the new locks and handles to fit in. If you plan on fitting different types of locks skip steps 4,5 and install the new locks at the end of the door preparation process.
4. Make the cut marks on the new door as per the holes in the old door.
5. Cut the holes in the new door. Using a guide for the saw along the cut mark would make a more accurate job.
6. Cut off the top and bottom of the side to match the previous door size. A door should come in a few standard sizes. If the width of the new door isn’t exactly the same as the old one you can trim the width (don’t trim more than 2-3cm and remember to check the width of new door in advance when you’re going to buy it). If you need to add a centimeter or two you can add lipping to the door. If you’re not sure how to do that go to a local carpenter or locksmith workshop to have them do it for you.
7. Due to where hinges used to be installed on the old door mark the position of where the hinges will go on the new door. You can use a marking gauge tool to measure the exact distance. You can also use the gauge to measure the depth of hinges.
8. Chisel out the wood as per your marks and depth of the hinge thickness. Once the hinge is flush in one line with the door it’s when you know it’s ready. Now go and do the same action for the other 2 hinges.
9. If the holes of the or the position of the new hinges is different than the previous you need to fit in new screws. Temporary hang the door where its going to be installed with the help of some piece of wood, books or anything else that would help you place it in the requires height. Use a nail to make the markings of the new holes and pre-drill holes with a tiny drill (3mm would do). This will ensure that the screws go in straight and fit nicely.
10. Install the new door and make sure that it fits well on the hinges. If the door closes and opens fully and all seems fine, that’s perfect. If not take it down to make any necessary adjustments.
11. If you need the door painted it’s better to do it now. Bring the door back out, clean it up and start with a paint brush to paint all of the inside grooves. You can then use a roller to do the rest. Make sure you do two coats. Do the second coat only once the first coat is fully dried.
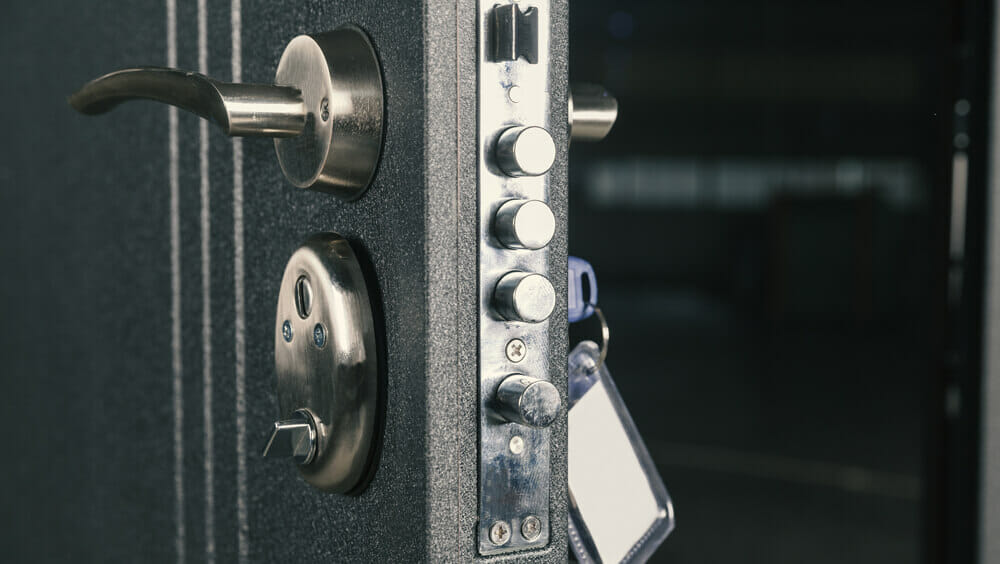
12. Having already made the holes where new locks will be installed it is now time to assemble the old locks back on the new door. If you bought new locks that you’d like to fit and if your lock is different type than what you’ve used to have on the door you’ll need to make a fresh installation of locks. Find here how to install a lock on your new door.
Fitting a door is not always simple as it seems and even with the best guidance you can get some things wrong. If you are not confident about doing it yourself our team of door fitters can do it for you. We offer very competitive prices for door replacements and installations. Contact us 24 hours every day of the year on 02081332166 to find out how we can help with your door fitting requirements.


